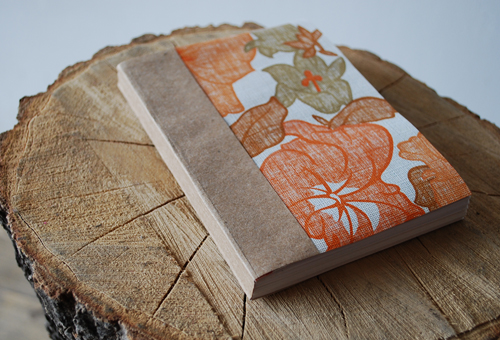
Scrapbook tutorial: Perfect Bound
I wanted to do a project using some vintage wallpaper I had kicking around. If you like, this project is also good for recycling and reusing some other types of papers. This project is fun and fast and makes great gifts or for your own use.
I wanted to do a project using some vintage wallpaper I had kicking around. If you like, this project is also good for recycling and reusing some other types of papers. This project is fun and fast and makes great gifts or for your own use.
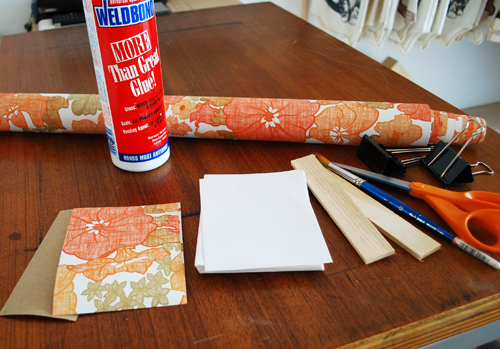
what you need:
-paper for the cover (I used wallpaper - you can experiment with different weights and thickness)
-small piece of craft paper (2.5 x 5 in.) for the spine
-recycled bond paper for the inside of the book (cut to 4 x 5 in.) approx 60 sheets
-cutting mat
-exacto knife
-two large clips
-two pieces of thin wood 1 x 6 in.
-brush
-white glue
step 1:
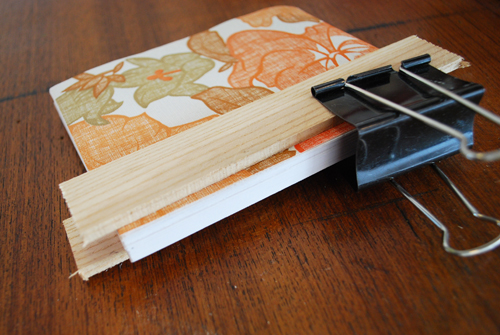
after your paper has been cut to size stack the papers together with the covers on the outside - place the two pieces of wood on the outside and place a clip on the top. It is important that the edge that you place glue on is very flat - any pieces of paper not on the edge will not get glued.
step 2:
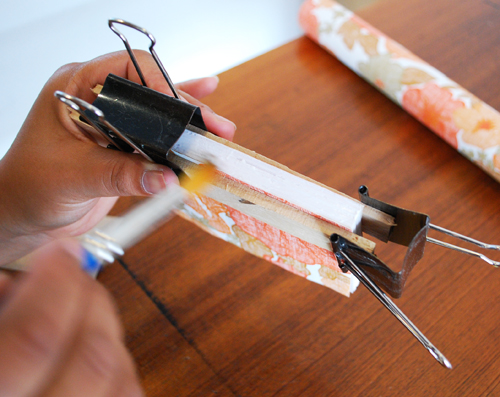
place another clip on the side and proceed to brush the glue on the edge of the book.
it's good to let it dry in between layers - I put on four layers. You can rotate the position of the clips.
step 3
once the glue is dry (around 5-10 minutes) you can remove the clips and the wood and you can take the kraft paper and place it over the spine and position it where you want it to go - crease the edges to mark you spot.
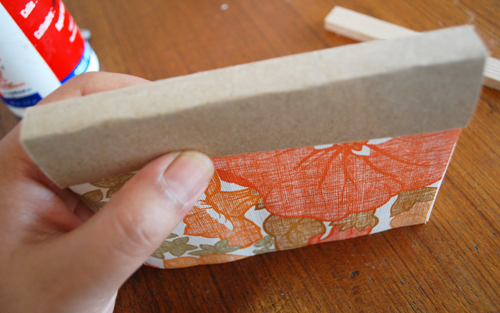
step 4
place glue on the inside of the folds of the kraft paper.
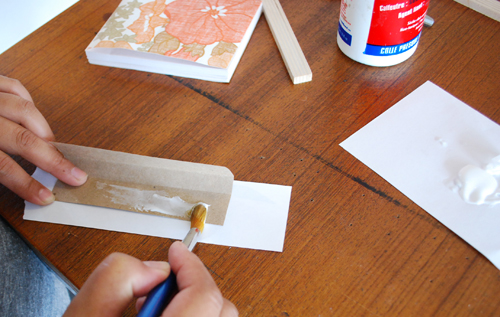
step 5
place it on the spine starting from one edge of the paper - once the kraft paper is glued to the spine - rub the entire edge with your fingers.
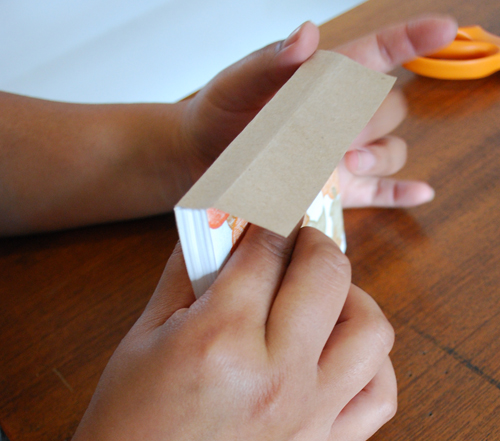

done
Source: bookhouathome.blogspot.com

Không có nhận xét nào:
Đăng nhận xét