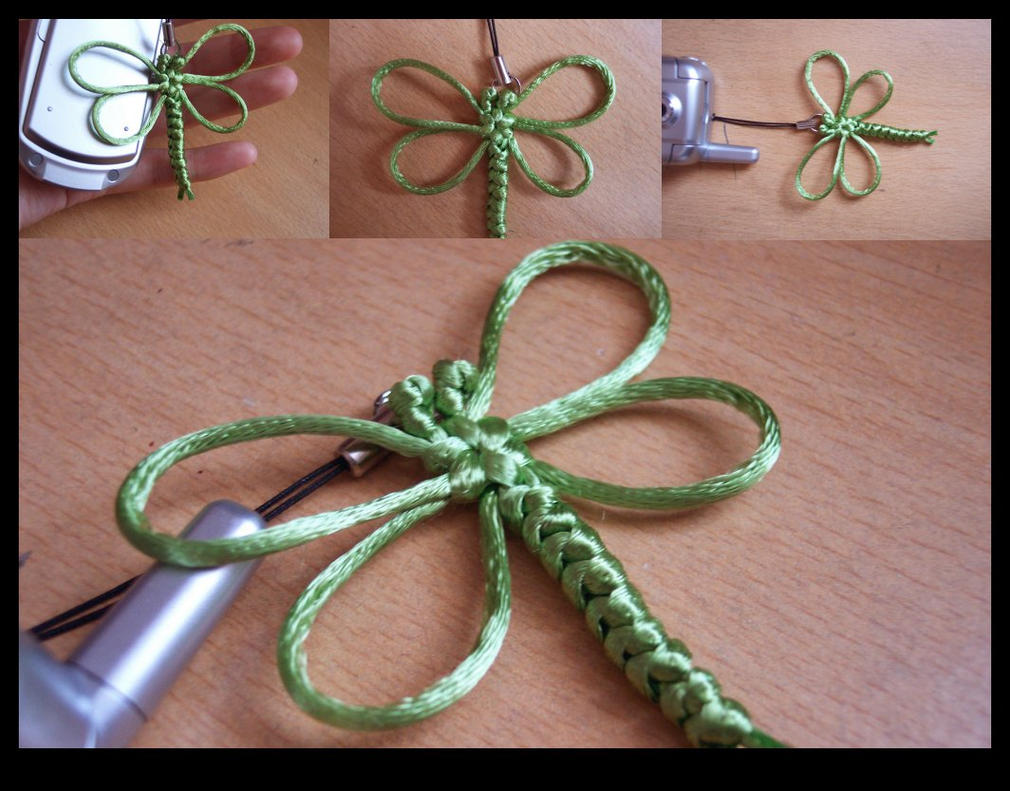
Tutorial: Chinese Knot Dragonflies
macrame dragonfly tutorial
1. Double the cord to make two equal lengths
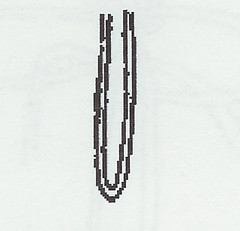
2. Let the ends fall as shown leaving the center loop be the length of the dragon fly that you are making. This is the length of the body. Here is where you can add beads for eyes. They go on at the top of the “M”
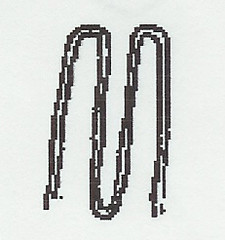
3. Bring the right leg over and under as shown.
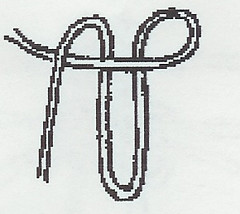
4. Bring the left leg behind the body and through the loop as shown.
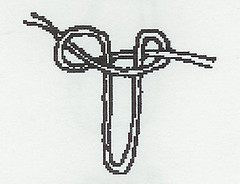
5. This repeats step 3 in the reverse direction
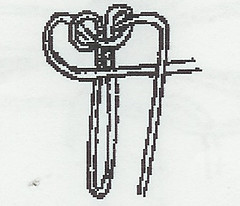
6. This repeats step 4 in the reverse direction. A complete square knot is formed. You may choose to do one or two complete square knots to form the head of the dragonfly.
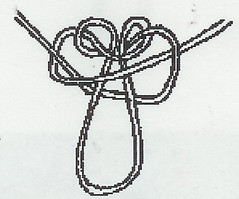
7. The first wing pair is formed as in step three. Allow enough length to produce proper wing to body proportion.
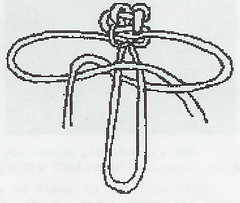
8. Complete the square knot as in step 4. Take care in tightening the knot to allow the wing lengths to stay equal. Tighten carefully and slide the knot up the body loop to the desired position.
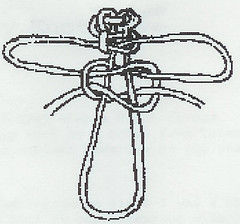
9. Add a second wing set as in step 7 and step 8. Tighten the second wing set and move to position. The body is then completed by square knotting as in steps 3 through 6 above, down the length of the body loop.
10. Tighten carefully as you go. Ending can be completed by trimming loose ends and applying a dot of glue to secure.
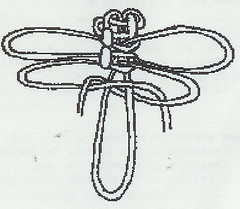
and the finished dragonfly:
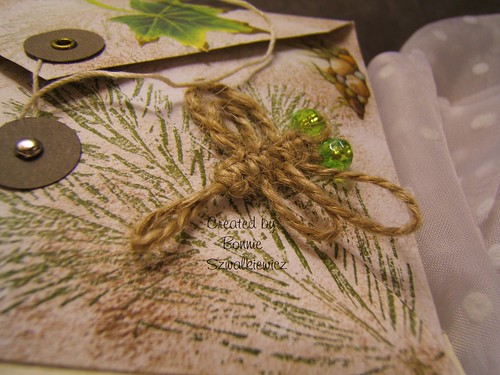
Read more: http://craftiblog.wordpress.com/2006/04/22/macrame-dragonfly-1/

Không có nhận xét nào:
Đăng nhận xét