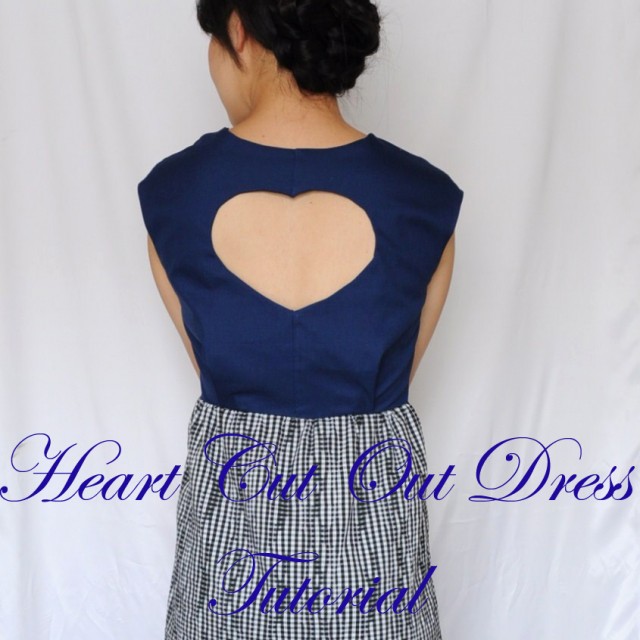
Gift pfesents for women: Heart Cut Out Dress
Sewing pattens
1. First, pick out your pattern. Recommended patterns are something that’s fitted to the bodice, and has a separate panel for skirt part. For this tutorial, I used theHeidi pattern from BurdaStyle. I recommend Heidi or Danielle (although you might need to modify the pattern a bit to fit to your bodice) from BurdaStyle. If you have a basic bodice pattern that’s fitted to your size, you can use that as well.
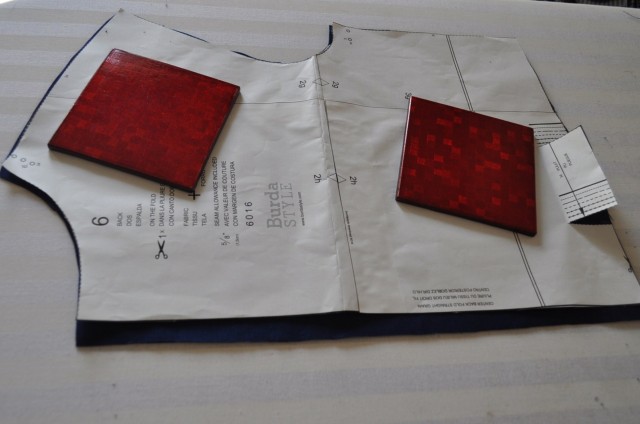
2. Cut 4 pieces of back bodice pattern (not center folded). For Heidi pattern, you are supposed to insert a side zipper on the left side, so the back bodice pattern says “cut 2, center folded”. In that case, add 1/2″ seam allowance to center back. You will need this seam allowance when turning the pieces inside out and connecting them together later on.
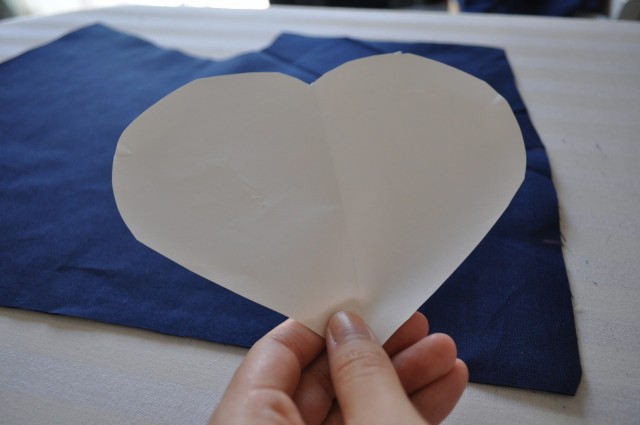
3. Prepare a heart shaped pattern. I typed “heart shape” in Google image, and printed out the type of heart shape I wanted. You can make the heart bigger or smaller, depending on your preference!
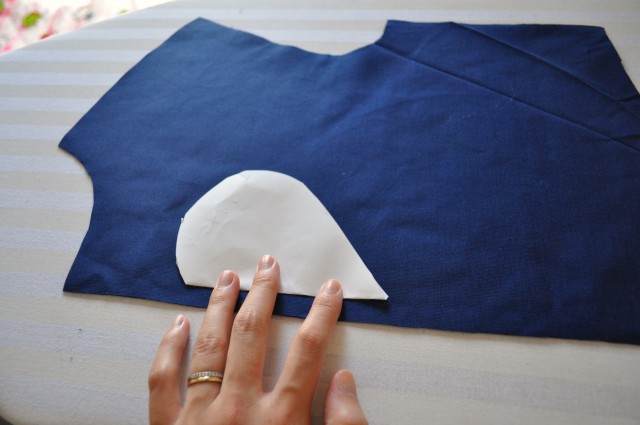
4. Fold the heart shape in half, and place the heart 1/2″ from the center back line. I like to have the heart cut out about 2-3 inches from the back neckline, but not too low, so you can wear a regular bra and not show the bra line.
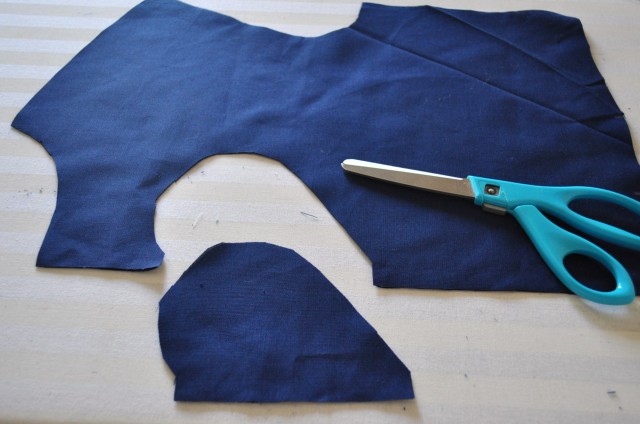
5. Cut out the half heart from your back bodice pieces. Do the same for all 4 pieces.

6. With the right sides facing, sew the neckline, arm hole and half heart shape as the picture above shows. For the places that’s circled in the above picture, leave 1/2″. You will need this space to connect two back bodice pieces later.
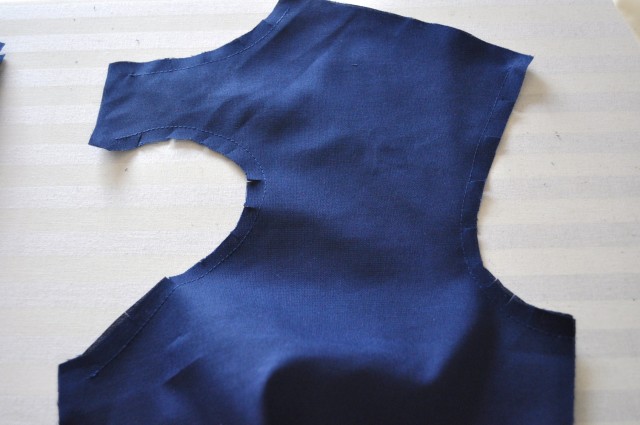
7. Clip the seam allowances for curves.
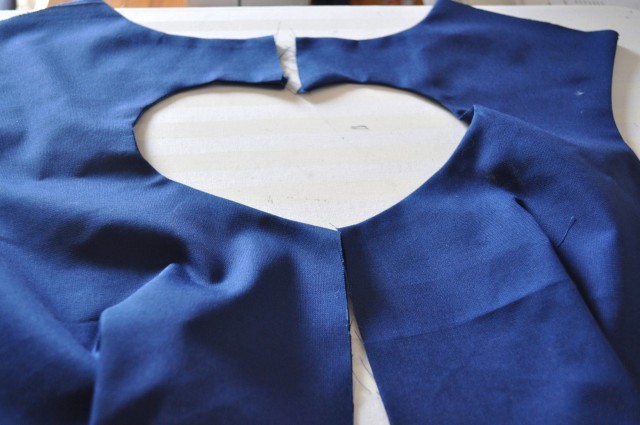
8. Turn the pieces inside out and iron.
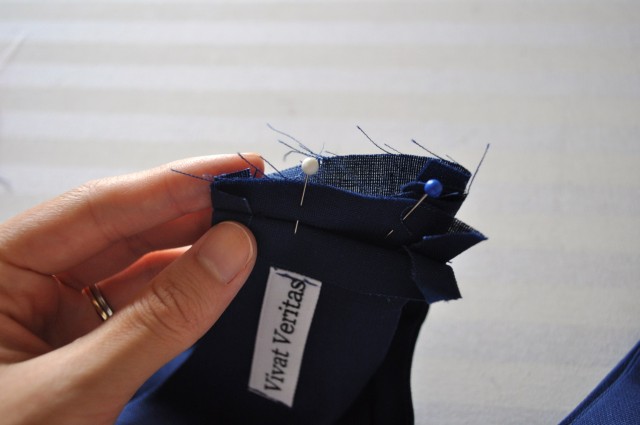
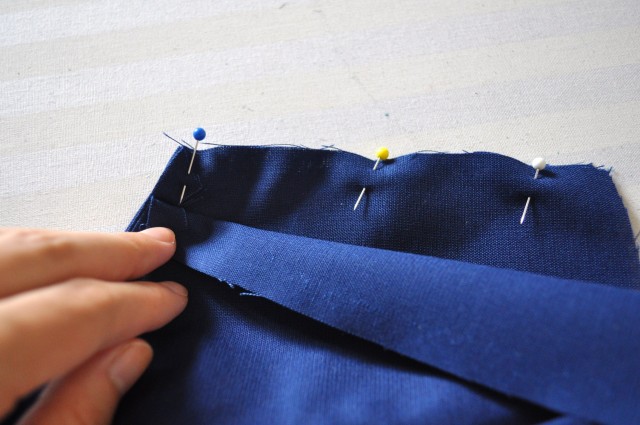
9. Now we connect the heart pieces together. With right sides of the outer pieces facing, pin the right sides of the seam allowances you left in step 6. Top picture shows the seam allowances above the heart and the bottom picture shows the seam allowances bottom of the heart shape.
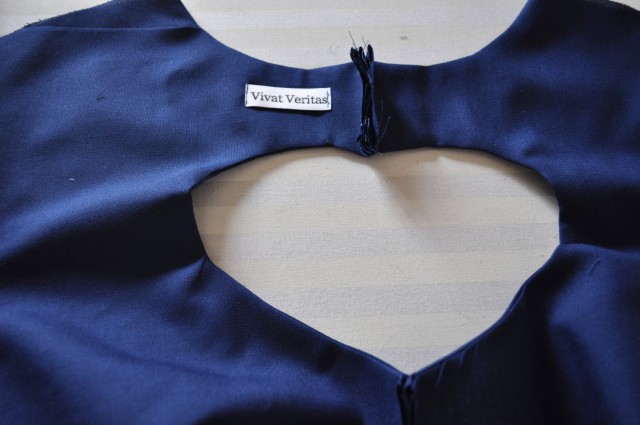 10. Sew the outer back pieces together as you pinned in step 9. You are only sewing the outer side of the fabrics together, leaving the seam allowances of inner or lining fabrics open.
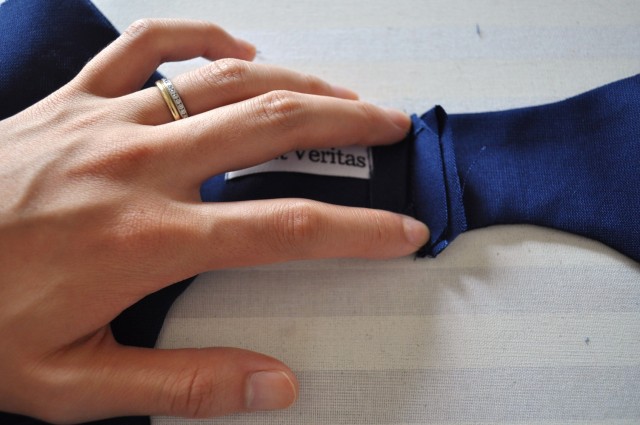

11. Iron, openning the seam allowances of the outer back bodice pieces you just sewed. Then you iron the seam allowances of the lining back bodice pieces so that the lining covers the seam allowances of the outer back bodice pieces.
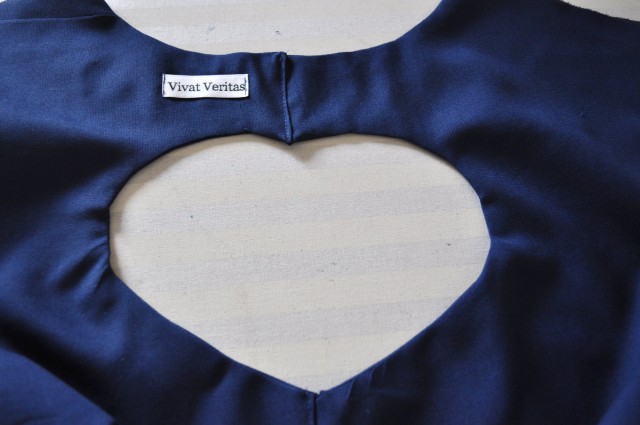
12. You can either hand stitch the center seam in the back bodice pieces, or sew it with sewing machine. As you can see, I used my sewing machine to finish the seam.
You are done!
Source: vivatveritas.com

Không có nhận xét nào:
Đăng nhận xét